What are we doing?
This is how to add a wildcard Lets Encrypt certificate to your Synology NAS using Cloudflare for DNS authentication.
It is based on the excellent acme.sh. I honestly recommend you read through the docs for acme.sh first. Most of what we are doing is well documented over there. In particular I would look at:
If you find this useful PLEASE consider donating to acme.sh here.
I’ve summarised the steps I ran based on those docs here.
My setup
I am making my changes on a Synology DS1520+. MY DSM version is DSM 6.2.3-25426 Update 3.
Existing certificate management
In DSM there is already the ability to add Lets Encrypt certificates through the GUI. The problem comes when you want a wildcard certificate. The GUI only allows this for Synology domains i.e. foo.synology.me.
You can continue to use the GUI to obtain certificates. But this how-to allows you to setup a wildcard certificate that renews automatically.
How to add the wildcard certificate
In the code examples below replace the placeholders (identified by double curly braces
{{ }}) with your real values.
1. Install acme.sh
ssh to your Synology NAS and then:
sudo su -
cd ~
wget https://github.com/acmesh-official/acme.sh/archive/master.tar.gz
tar xvf master.tar.gz
cd acme.sh-master/
./acme.sh --install --nocron --home /usr/local/share/acme.sh --accountemail {{ your_email }}
Then logout and back in to pick up the profile changes.
2. Prepare Cloudflare values needed
Login to the web site for Cloudflare and create an API Token. This is better than using the all-powerful API Key.
Go to https://dash.cloudflare.com/profile/api-tokens and create a token using the “Edit Zone DNS” template.
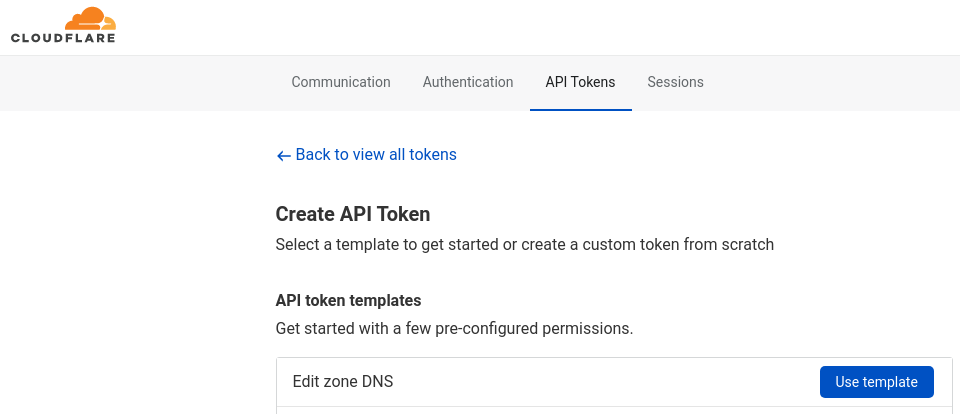
The Token you create needs read permission on your Zones and edit permission on the Zone we are altering. You can also limit the scope of the token to a specific Zone for least privilege.
Export the values to your environment for the script to use:
export CF_Token={{ cloudflare_api_token }}
export CF_Email={{ cloudflare_email }}
3. Create and deploy our certificate
Export other values the script will need:
export SYNO_Username={{ synology_admin_username }}
export SYNO_Password={{ synology_admin_password }}
export SYNO_Certificate={{ certificate_description }}
export SYNO_Create=1
The script by default will attempt to connect to http:\\localhost:5000 so if you need to change that location please refer to the full documentation.
By setting SYNO_Create=1 above we can create and deploy the certificate with one command:
acme.sh --deploy -d {{ top_level_domain }} -d {{ wildcard_domain }} --deploy-hook synology_dsm
This might fail with a certificate/https warning so you may need to add the --insecure flag. It didn’t fail for me but I had already configured a certificate in the GUI when initially setting up my NAS.
If it runs successfully you should see the certificate in the GUI at Control Panel > Security > Certificates.
You can now use that certificate anywhere you normally can.
Final note
In the logs I noticed that the standard certificate renewal process was falling over. It sees our new certificate but doesn’t like that it is a wildcard and not used for a Synology domain as mentioned earlier. The failures seem harmless but I’ll update this how-to if I learn anything different.